
I was thinking back to my childhood and my sister + I dreaming of houses with secret passageways, bookcases that swung wide into hidden rooms, and hiding places made out of everyday items. and I got to thinking, "how difficult could it be to make one of these a reality?"
yes, I know. I must have better things to think about. you'd think, wouldn't you?
obviously I can't put holes in the walls of our rental home to include secret doors.
so I hollowed out a book. yes, seriously.
you just need a few little things -- most of which you probably already have:
- a book [one you don't intend to read again, of course]
- box cutter/x-acto knife
- white glue + water
- paint brush
- pencil + straight edge
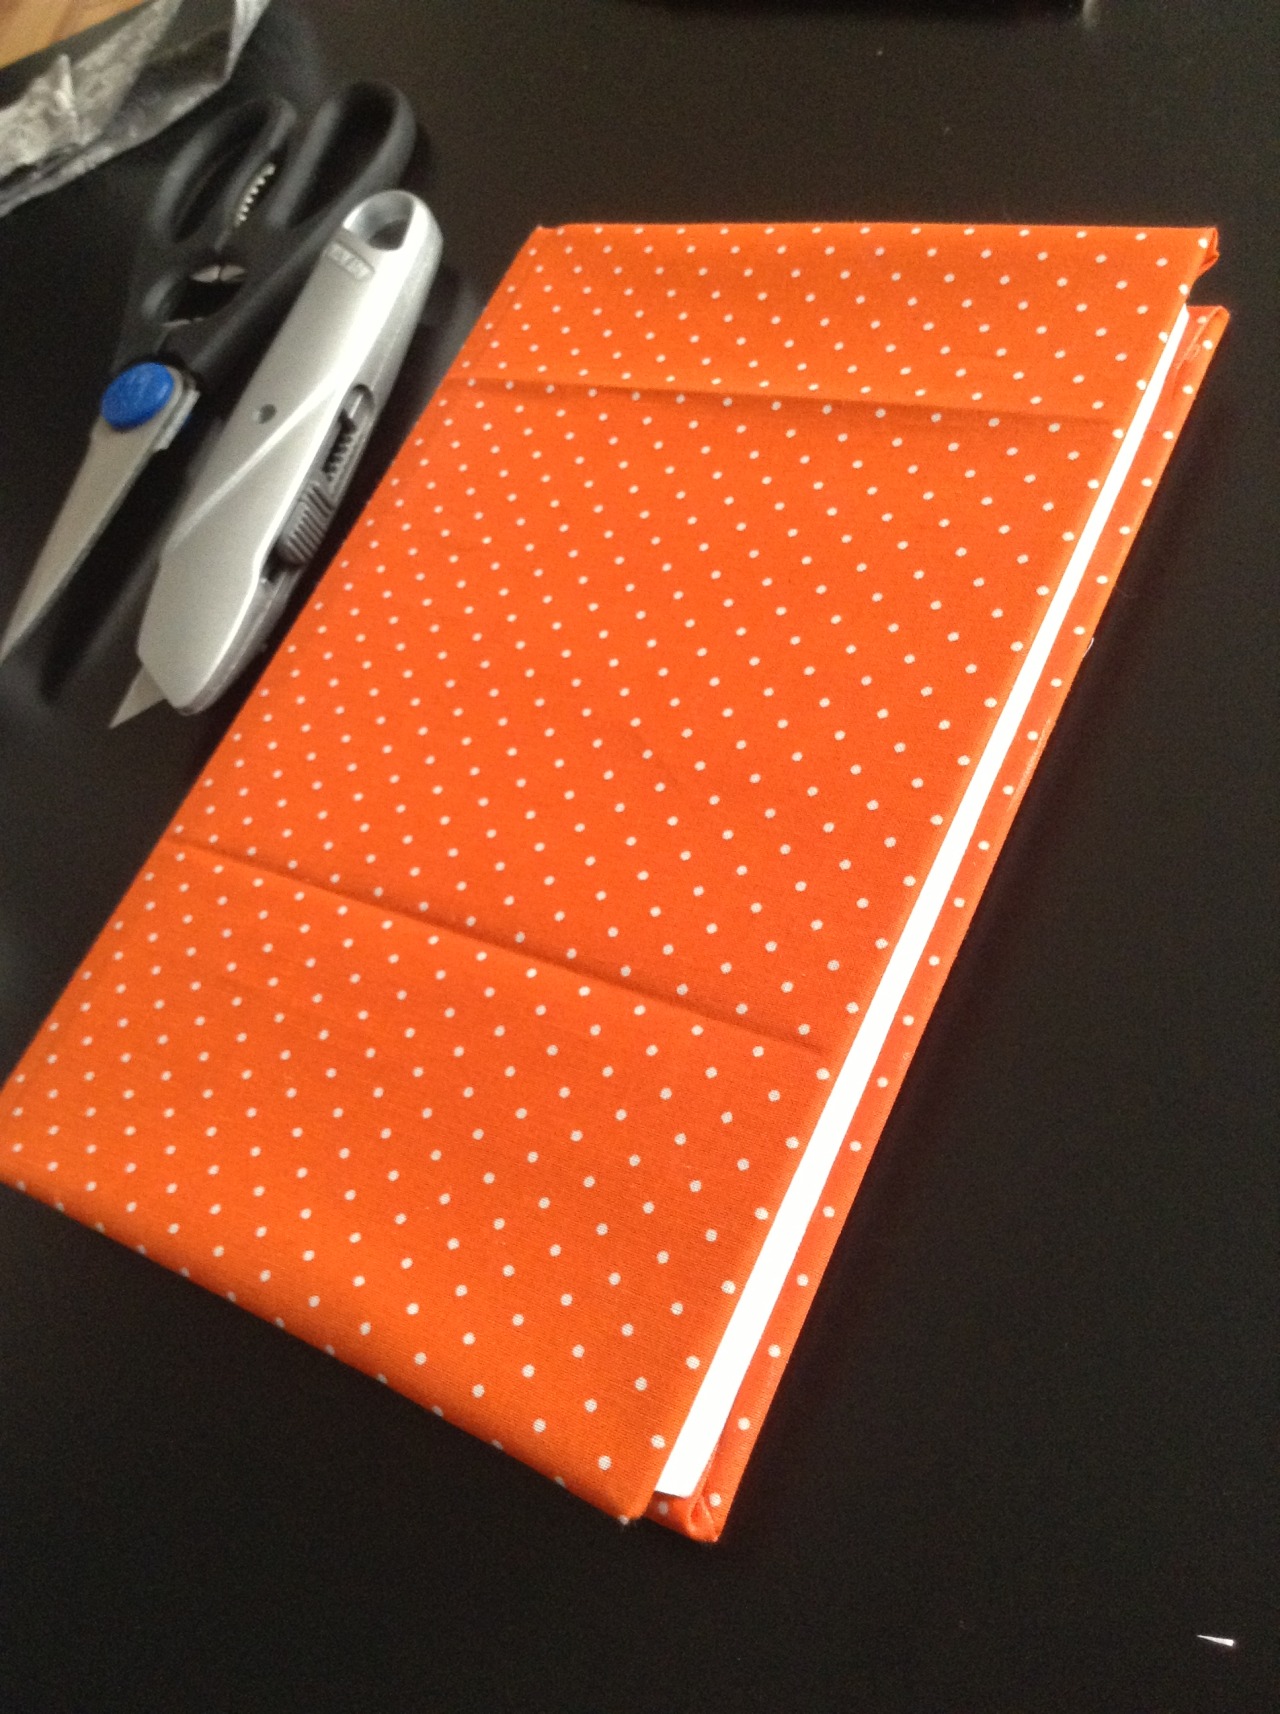
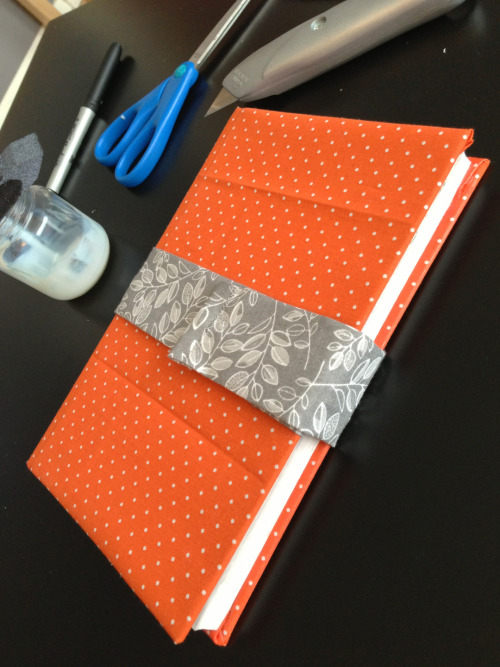
I decided to get fancy + cover my book first. I had a plan for this puppy + wanted it to look nice. I didn't necessarily care about this being a good place to hide secret things as much as I wanted just a hollowed-out book. I bought some simple little swatches of fabric and just used some of white glue to adhere it to the book.
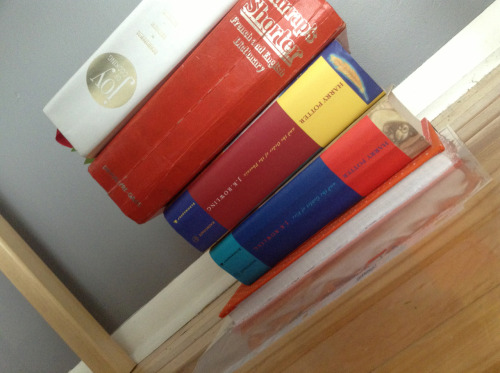
then it was time to get to work. I mixed the glue with some water [roughly 70% glue + 30% water -- I certainly didn't measure anything] and then held the book's pages + back cover [not the front cover!] together while I used the foam paint brush to apply a decent amount of glue around the outside edges of the pages. I closed the book fully [with a sheet protector in between the cover + glued pages so they wouldn't stick together -- you could also use a large ziploc bag] + put it under a stack of heavy books to dry for 30-60 minutes or so.
once it was dry, the fun began. I measured out a margin onto the first page + began cutting. it was kind of a tedious process, making sure the lines were straight all the way down. there were little pieces of paper EVERYWHERE by the time I was finished.
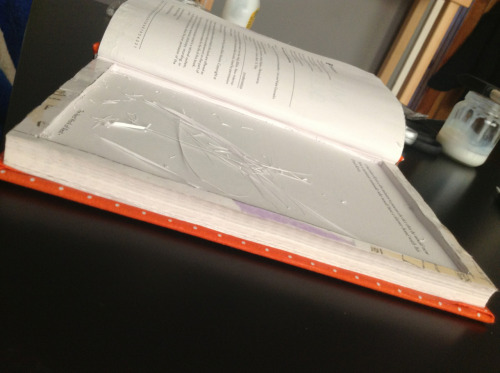
once the pages were out + the edges were cleared of all the excess paper fuzz, I brushed a thick layer of the glue + water solution onto the inside "walls" of the hole as well as a second coat around the outside. I let it soak in for a minute or two before closing the book up [with the plastic sheet protector between the pages again] + setting it to dry for another hour or so.
the inside was still a little bit damp when I opened it up again because it had been closed, but after being open for just a few minutes, it was dry enough to add the finishing touches.
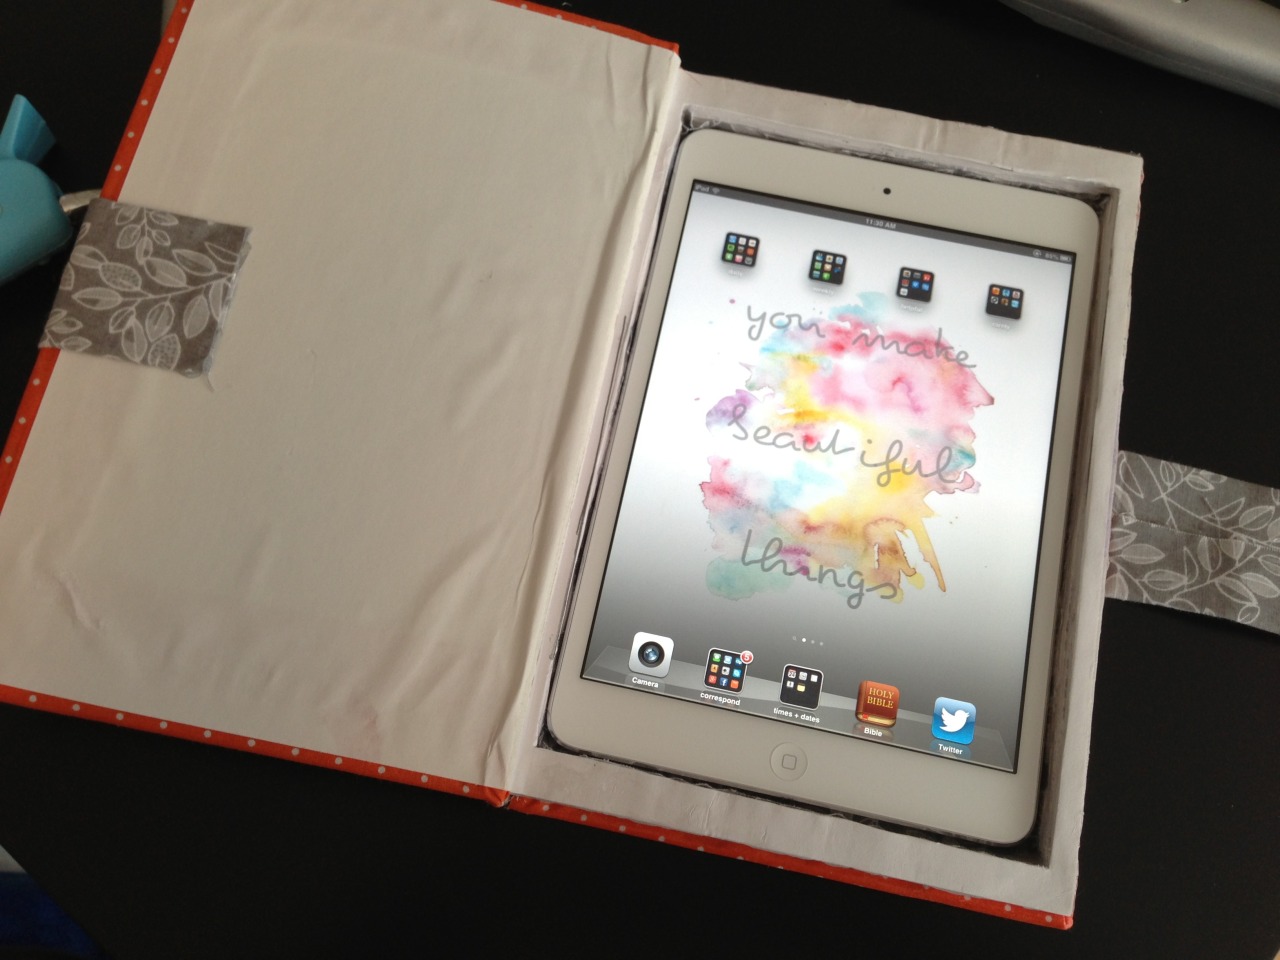
I got fancy again + added a totally unnecessary bottom to the hole
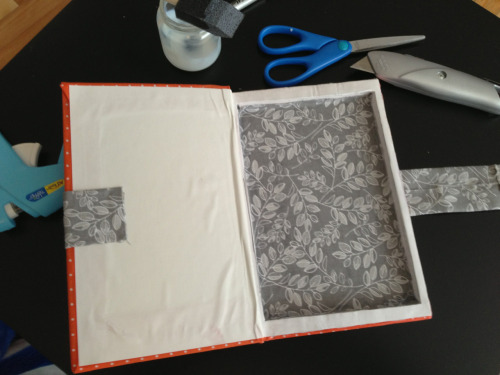
and a strap around the outside
and speaking of intent + purpose, this was the plan I had in mind for my hollow book from the beginning :)
No comments :
Post a Comment
Note: only a member of this blog may post a comment.